Thursday, January 27, 2011

Seeing Green


This week’s experiments were with three different types of greens. Not lettuces, but the stuff in the grocery store that’s not displayed with the lettuces, but still looks like it’s part of some mean looking salad.  These different greens look all kinds of crazy: prickly-pointy looking, super ruffley, delicate and fragile, potentially a weed from my backyard, or questionably edible. If you haven’t really looked at this stuff closely you should go check it out.  Smith’s grocery store on Horizon Ridge and Eastern is amazing for hard to find produce. I found all my greens there (and a bunch of stuff I would have gotten hit in the head with if asked to name it).  On to the experiments and the results!

Experiment 1:  Kale

Category: super ruffley and questionably edible. I actually have worked with Kale in the past. When I was trying to find good edible non-milk sources of calcium, Kale was on the list.  I wilted it in with Peppers and Onions for Fajitas. It wasn’t actually bad, just a bit chewy.  I haven’t made it in awhile, but I’d make it again- maybe try to find a way to make it less chewy.

This week’s experiment was Kale Chips. I had read about Kale chips on the CNN article I read about trying to eat more veggies- the one that kind of started the whole thing. Then this past week Eileen pointed it out in a magazine as something that sounded interesting. So I thought I’d give it a try. It was quick and easy to make so why not.

Kale Chips

Tear Kale leaves into pieces, toss with olive oil, salt and pepper. Spread on a Baking Sheet. Bake at 300 degrees until crisp- about 20-30 minutes.

These were my instructions no amounts or anything. So I tear the leaves, pour a little olive oil on- which actually seemed like too much. Somewhere I get it in my head that it said Kosher salt. So I poured a little on the kale- once again it looks like too much. Tossed it around, put it on a baking sheet and dosed in pepper.  I bake for 20 minutes.  

Family Verdict
Natalie is not even going to count this week. If it looks anything like lettuce/salad she won’t even give it a fair shot. So assume Natalie says “I don’t like it.” with a squished up face and her tongue out with a piece of green something on it. On this recipe I think Toby really summed it up with his insightful and eloquent reply: “This tastes like salted paper.” For once, my dear, I must agree. The kosher salt made it so salty it was gross. It had a flavor a little more than paper, but it was still just not right.

Conclusion:  Kale isn’t bad. I don’t want to give it a bad rap, but this recipe is bad or I made it wrong. Kale is used in soups frequently in small quantities and it’s good, and like I said I’d do the fajitas again.

Experiment #2  Broccoli Rabe a.k.a Rapini

coarsely chopped rapini
Category: Potentially a weed from my back yard. Shout out to my home-girl Brenda Blackie Kendall who supplied me with the recipe for this green!  Looking for inspiration, I messaged my two cousins on Toby’s side for their best veggie recipes. These girls and their family’s eat almost totally (if not totally) vegetarian so I figured they are well versed on what is good.  I’m hoping to try some more of their stuff as time goes on. 


 Broccoli Rabe and Garlic Pasta
-slightly modified by me

12 ounces uncooked linguine or fettuccini
1 lb Broccoli Rabe
5 garlic cloves, minced (divided 3 and 2)
2 tbsp olive oil
¼ tsp salt
¼ tsp pepper
¼ tsp red pepper flakes
1 cup chicken broth divided
¼ shredded Parmesan cheese
1 lb raw shrimp- shelled, tail off

1. Cook linguine or fettuccini according to package directions. Meanwhile trim ½ from broccoli rabe stems; discard any coarse or damaged leaves. Rinse broccoli rabe in cold water and cut into 2 inch pieces.
2. In a large skillet sauté 3 cloves garlic in 1 tbsp oil for 1 minute. Add the Broccoli Rabe, salt, pepper, red pepper flakes and ½ cup broth (only half of the broth). Bring to a boil
3. Reduce heat; cover and cook for 3-5 minutes or until broccoli rabe is tender.Remove broccoli rabe mixture from the pan to a plate or bowl. 
4. Add 1 tbsp oil back to the pan and heat. Add 2 cloves garlic and shelled shrimp to the hot pan. Cook until shrimp are pink- just a few minutes.
5. Return Broccoli Rabe mixture to the pan. Drain cooked linguine and add to the shrimp and broccoli rabe mixture. Add remaining broth to the pan. Stir to combine. Top with Parmesan Cheese.
 
Family Verdict:
Me: Really good. The broccoli rabe I thought tasted very similar to broccoli. Maybe I was just expecting that because of the name, but it was good.  If you didn’t guess my recipe tweek was to add to the shrimp (I also removed the parsley because as I said in a previous blog entry I just don’t buy parsley).  I have to admit I got hungry really quick after dinner that night. I actually don’t know if I had a pound of shrimp, but whatever I had it was no where near enough. Next time I’ll add more shrimp and possibly Sea Scallops to the recipe.  Today with leftovers I actually added fresh steamed broccoli as well, and I thought that really helped add to the bulk and the flavor. So I may try mixing my “broccoli’s next time.  Oh, and the recipe called for 12 ounces of pasta which isn’t a whole box, but it’s most of a box which I find annoying so next time I may up a couple of the other ingredients so the pasta isn’t dry and use the whole box.
Toby: “A delicious and healthy meal”  Score! I think Toby will like it even more with a little more shrimp and the broccoli. 
Natalie: She loved the noodles, cheese, and the shrimp. It’s a no go on the salad-looking greens. Though, I bet I’d have better luck with her eating actual broccoli on this.

Conclusion: A keeper with the adjustment of more shrimp/scallops and the addition of broccoli. 

Experiment #3  Escarole


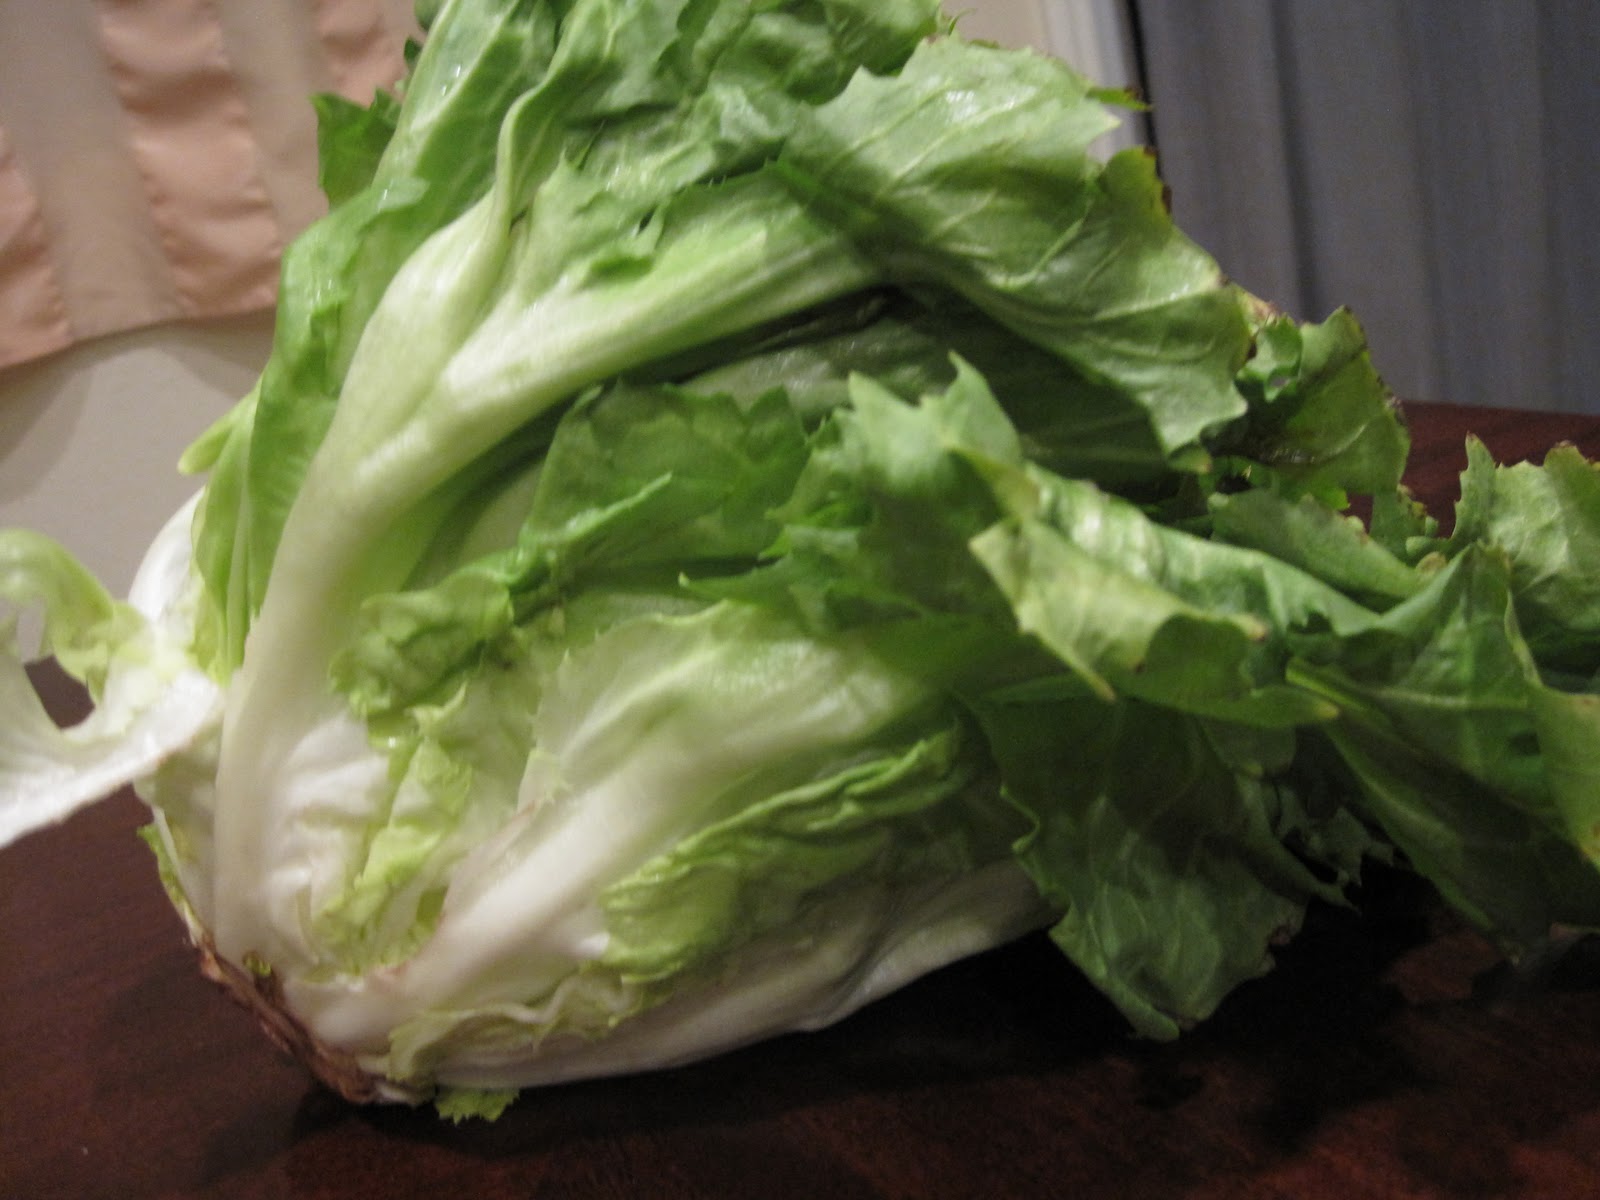
Category: delicate and fragile. This green I actually thought was the most beautiful of the 3 greens I purchased this week. It reminded me very much of butter lettuce in its look. I was pretty excited to work with it.  This recipe also came from Eileen who found these pair of recipes from Chef Sal Scognamillo of New York’s Patsy’s restaurant.

Recipes:  Penne Bolognese and Escarole Monacina. Like Fancy Nancy, I just feel so fancy when I say these recipe names.  The Escarole Monocina was of course the green recipe, but I’ll share both with you. I’m dying to comment on the ingredients and me making these, but I’ll save it for after I type out these recipes.

Penne Bolognese

5 medium white mushrooms, cleaned and sliced
¼ cup olive oil (I used maybe 2-3 tbsp instead)
1 small yellow onion, finely chopped
3 garlic cloves, minced
½ pound finely ground lean beef
1 16 ounce can plum tomatoes, with juice (I used a can of whole tomatoes with juice)
2 bay leaves
¼ cup Cabernet Sauvignon
¼ cup beef broth
Pinch of oregano
2 tbsp unsalted butter
1 tbsp flat leaf parsley (didn’t use-surprise surprise)
salt and pepper to taste
4 tbsp Parmigiano-Reggiano
1 lb penne cooked al dente

Bring a Large Pot of Water to a boil, add the mushrooms, and blanch of 2 minutes. Drain, chop finely (I whirred mine up in the food processor), and set aside.

Heat the oil in a large skillet over medium high flame and sauté the onions for 3-4 minutes, or until lightly browned. Add the blanched mushrooms, garlic, and ground beef and continue to cook and stir to 7-8 minutes.

Coarsely chop the tomatoes and add with their juice, then bay leaves, wine, broth , and oregano. Bring to a boil, reduced heat to low, and simmer uncovered for 15 minutes.

Remove bay leaves. Add butter and parsley and season with salt and pepper. Sprinkle and stir in the Parmigiano-Reggiano. Serve over the cooked pasta. 


Escarole monacina
1 bunch of escarole (washed and rinsed)
4 cloves of garlic
¼ cup extra virgin olive oil (I once again used about half)
12 Gaeta olives (used black olives)
2 tbsp nonpareil capers
2 anchovy fillets, cut very fine
2 tbsp pignoli nuts (pine nuts)
2 tbsp raisins
salt and pepper to taste.

Roughly cut and then boil the escarole for about 5 minutes. Drain the water and let cool. Cut escarole down a little more.

Saute olive oil and 4 cloves of garlic, sliced, until the garlic is brown. Add the capers, escarole, olives, anchovy fillets, nuts, raisins, salt and pepper. Saute for 1-2 minutes. Add half a cup of water and cook for another 3-4 minutes until the water is almost dissolved.

Top with seasoned bread crumbs, and place under the broiler for about 2 minutes until lightly browned.


Oh my goodness where do I start on this adventure? Ok the Penne Bolognese I was afraid to even try because the recipe called for red wine. Every recipe I’ve tried with red wine has pretty much been a disaster.  I decided to still give it a try because it called for so little of it.  The 16 ounces of plum tomatoes. Come on, the cans come in 14.5 ounce or 28 ounce- why can’t my recipes pick one of THOSE sizes?? Sigh. Purchased 28 ounce can used a little more than half.  Penne calls for 1 pound. My Penne comes in 14 ounces or something. Turns out 1 14 ounce box was MORE than enough. 

Cool thing about this recipe- the mushrooms when they are either finely diced or whirred in the food processor, turn out to look identical to the ground beef once it’s all mixed together. I think it adds to the beefiness without adding a lot of calories.  Although with the called for ¼ cup of olive oil and 2 tbsp of butter I think have more pressing worries on calories than the beef.

Cooking the Bolognese: 1st step calls for me to “blanch” the mushrooms. I suppose I could have looked it up, but I assumed that meant boil for 2 minutes then remove. Turned out ok so I guess I did that right. Everything else went along without a hitch. Fishing out the bay leaves was a bit of a challenge, but it all worked out in the end.

Escarole monacina: wow, umm lets start with the ingredients since basically every ingredient has a comment! Beautiful escarole, 4 cloves of garlic – I  used about an entire head of garlic between this recipe and the last. It’s all well and good though because I love garlic. I love going to bed at night and still smelling garlic on my hands.  Gaeta olives- ok for real? Eileen had to look it up she said it was a type of black olive or at least it looked black.  Go to aisle at the grocery store with olives- only the regular types: black, green, kalamata, capers. This Smith’s actually has a salad bar like area with like a million different olives. Do you think there was anything listed Gaeta? The olive lady behind the counter didn’t know what they were. I came home with a can of black olives. 

Nonpariel capers.  I had capers in my fridge I didn’t know if they were “nonpareil”, but seriously didn’t care they were getting used. Turns out they were. Lucky me. Anchovy filets.  Once again almost didn’t try the recipe because of this, but Eileen assured me that they don’t taste like fish they just add saltiness to the dish and are a nice background flavor.   Pignoli nut- ok, so I know you’re a famous NYC chef, but if you are giving a recipe to the public just call it a pine nut for goodness sake.

Unhappy Wet Cat or Boiled Escarole? You Decide.
So I’m getting ready to start cooking this recipe and the first thing it asks me to do is BOIL the escarole. Boil my lovely delicate leaves. Are you sure? Don’t you mean “steam” perhaps? Well whatever, it says boil. Plop they go into the boiling water.  5 minutes later I pull it out and my poor escarole looks like an unhappy wet cat.

My anchovy filets to be cut “very fine” was more of an anchovy paste when I was done.

Two funny things happened at the end- or didn’t happen as it were. I didn’t realize until just now when I was typing out the recipe that it asked me to add water to the pan and cook it down just before the end. Oops.

So, I’m at the end of sauteing and I think I’m ready to go and I see it says to top with seasoned bread crumbs (which aren’t part of the ingredients list I have to say in my defense) and broil.  Meh. Tired, don’t wanna do it.  Plop it goes into a bowl and onto the table.  Good times.


Conclusion:
Me: Penne Bolognese – my first attempt at cooking with red wine that didn’t taste like garbage! That made me a little bit (a lot) happy.  It was pretty darn tasty.  I think it called for way too many noodles for the amount of meat sauce it made. I’ll double the recipe next time, but keep the pasta the same- besides, buying a HALF a pound of meat is also annoying.   Escarole monacina- was absolutely horrible. It tasted like fish and raisins.
Toby: Liked the Bolognese as well. He does NOT like mushrooms- more as a concept than as a flavor, so he was a bit mad at me that I chopped them up so small he couldn’t pick them out. I didn’t want to screw up the recipe so I followed it exactly. Next time, for him, I’ll leave the mushrooms in bigger pieces so he can remove them.  Escarole: Yick. He said he tasted the olive oil as a predominant flavor, but didn’t like it in general.
Natalie: Ate her noodles separate which she of course loved. Didn’t care for the meat mixture. Didn’t even put her through the misery of trying the Escarole recipe.

Conclusion: Bolognese we’d make again. The Escarole went straight to the trash- along with my leftover anchovy fillets. Good riddance!


At the request of my darling husband, I will be cutting back to ONE new veggie recipe a week. I guess I was getting a bit out of hand. I can’t blame him though, poor guy hasn’t really like much of what I’ve been experimenting with. I know I said this last week, but I’m going to go with something more normal this upcoming week. Hope you had a good read and a good laugh. I know I did recalling my catastrophes this week!


Tuesday, January 18, 2011

Week 2 Parsnips- Oy Vey!


For my second week I thought I’d tackle the vegetable that started it all - my “Name It or Get Hit With It” Vegetable: the Parsnip. Following the somewhat unclear signs at my grocery store, I eventually found the parsnips.  I decided this week to buy enough to make two different recipes using the Parsnip.
 
I had always heard of parsnips being used in soups, and had leftover turkey and thought I’d play it safe with my first recipe. My original though was for a Turkey Noodle Soup, but as I was looking around for ideas for my second parsnip recipe I came across a Chicken Matzo ball soup recipe. I asked Toby “Do you like Matzo balls?” He says “Uh, yeah, where have you been?” or something to that effect. I never made Matzo before- who knew? Well I know his mom knew, but besides that.  So my Turkey Noodle Soup was changed to Turkey Matzo Ball Soup.

I’m ready to make my soup, so I start with my parsnip. I’m looking it and have an “Ah-ha” moment.  It’s like a white carrot. I peel one and smell it. Yeah, it smells like a carrot. Interesting. Then I think- am I supposed to be peeling this? I figure, well you don’t have to peel carrots, so I peeled the one, and didn’t peel the other two parsnips. However, I discover later that the skin on a parsnip is thicker than a carrot- more like a potato skin. While it wasn’t bad to eat, I’d recommend peeling it if you try the recipe or work with parsnips in general.

A bit of advice: you may want to cut down this recipe a little bit.  I ended up with so many sautéed vegetables and so much chopped turkey in my pot that I had to switch the whole soup to my mega pot before I got to my liquids. My mega pot- it’s like a medieval artifact. Later that night, while I was washing this mega pot I imagined I was a servant in a medieval castle washing up after dinner. My pot had just been used to cook enough potatoes to feed the entire castle.  Anyway, back to soup!


Turkey Matzo Ball Soup

4 cups chopped cooked turkey
3 Parsnips, peeled and sliced
4-5 carrots peeled and sliced
3 celery stalks- sliced
1 small onion- chopped
1 zucchini (had it around and needed to be used- don’t need to have one though)- peeled and chopped
1 box Matzo Ball Mix (Manischewiz brand is good)- I used both packages you need eggs and vegetable oil to make the mix.
1  Tbsp Butter
1 Tbsp Olive Oil
2 boxes (32oz) chicken stock -  I had made my own turkey stock and probably had a little more than half a gallon so that’s about the same amount
1 Chicken Bullion Cube
8 Cups of Water

  1. Make Matzo Ball Mix according to the box. It asks you to have it sit in the refrigerator for at least 15 minutes so we want to make sure this is ready.
  2. Heat a large (castle-feeding size) pot on medium-high add butter and olive oil (make sure you use a large pot that has a cover as you will need it when you get to step 4). When the butter is melted add the vegetables (except zucchini). Sauté for about 10 minutes, then add zucchini, sauté another 5 minutes.
  3. Add turkey to the vegetables, then pour in the stock, add water, and bullion cube. Increase heat to bring the soup to a boil.
  4. Pull out matzo ball batter, wet hands, create little balls- meatball size or smaller and drop into the boiling soup.  Matzo balls puff up rather large so don’t make your balls too big.  Once the Matzo balls are all in the soup, cover, reduce heat to medium and simmer for 20 minutes.
  5. After 20 minutes, remove cover, add salt and pepper to taste, and the soup is ready to serve!


Family Verdict:
Me: Soup was great. Loved the Matzo balls. The Parsnips cooked up to taste kind of like a carrot, but a little bit stronger carrot flavor.
Toby: Proclaimed the Parsnips to taste like soap, and he “choked them down.” I seriously need to stop asking his opinion when I really don’t want it.
Natalie: Ate her “white carrots” the same as the other veggies in the soup and she said they were good.

Conclusion: Where do I turn in my current husband for one who doesn’t hate every vegetable known to man?  Just kidding… he hates the ones not known to man too.

Parsnip Recipe #2  Honey Glazed Parsnips Ok, just kidding, it started out as honey glazed parsnips and turned into this:

Honey Glazed Carrots, Parsnips, and Pears with Feta

2 Parsnips, peeled and chunked
3-4 Carrots, peeled and chunked
2 Bosc Pears, chunked (we call them Golden Pears- but they are kind of brownish)
½ cup honey
½ warm water
2 Tbsp Brown sugar
1 Tbsp Butter
Feta Cheese, crumbled
Honey

  1. Preheat oven to 375 degrees.
  2. Steam the parsnips and carrots (NOT PEARS) for about 10-15 minutes to partially cook.
  3. Combine honey, water, brown sugar and butter in a bowl. Warm in the microwave about 1 minute, stir.
  4. Put vegetables/fruit in a large bowl. Pour honey mixture over the veggies and stir to coat.  Sprinkle a little salt and pepper for good measure.
  5. Pour vegetables/sauce into a 9x12 glass baking dish. Cook in oven for 30 minutes, stirring every 10 minutes.
  6. Serve topped with feta and drizzled with honey

Notes: For goodness sake, please use real feta. The fat free feta I bought tasted like NOTHING. Feta with ZERO taste – it was terrible.  This recipe could have been so much better if I had the feta taste in there too. Maybe it was the brand- who knows, but ick boring.

Family Verdict:
Me: A sweet vegetable side dish with dinner is, at the start, actually a pretty hard thing to pair and not have dinner taste weird, so the poor recipe had a bad start to begin.  I made rib eye steak and baked potatoes. The steak wasn’t so bad with sweeter side, but the baked potatoes got mixed a little with the honey mixture and it wasn’t so good.  My feta cheese as is mentioned in the above note was terrible and tasted nothing like feta and, in fact, tasted more like “squishy white nothing balls”.  The savior to this dish was the drizzled honey at the end, and the pears of all things. I came up with the pear thing this afternoon when I was having a pear for a snack.  However, of the whole dish I have to admit that the parsnip was my least favorite of the dish. They had that strong flavor again. The recipe needs more tweeks, maybe no parsnips, add something savory to the mix as well- rosemary or just more black pepper?   So back to my verdict in regards to the Parsnip- I’d stick to soup.
Toby: “Still tastes like parsnip”
Natalie: No complaints, she ate the carrots, pears, and a little of the parsnip. I think she was on the same page as me- it wasn’t her favorite.

Conclusion:  Needs some experimentation, but it wasn’t a complete waste. It has potential to be a good veggie/fruit combination side dish, but I’d nix the parsnip personally and just stick to the carrots and pears. Still both fruits and veggies so it counts!

So that concludes Week #2 for the Veggie Experiment. Next week I think I’m going to try something a little closer to “normal” and safe.  I have a couple things in mind, so stay tuned.

Monday, January 17, 2011

3 for 1 Veggie Week


This vegetable story starts with fish tacos. You see, part of a wonderful fish taco is the cabbage in which you fill said taco.  At the grocery store they were selling half a head of cabbage. Who sells a half a head of cabbage? – I didn’t ask questions I just snagged it.  After having fish tacos for dinner and lunch the next day I still had basically an entire half of a cabbage left.  So I thought- what a great way to start my vegetable experiment- with a vegetable I never cook that I already have laying around the house.  

So my mind started brain storming- wilted cabbage, bacon, maybe a splash of some type of vinegar….  I jumped on my favorite recipe site: Allrecipes.com and found just what I was looking for! I modified it just a little.

Fried Cabbage

6 slices turkey bacon
½ tbsp olive oil
½ head green cabbage- sliced into ribbons
½ onion- chopped
1 tsp white sugar
1 tbsp cider vinegar
salt and pepper to taste

  1. Put olive oil in a large skillet, heat on medium/high
  2. Cook turkey bacon-  after cooked remove from pan- let cool then chop
  3. Add sliced cabbage and chopped onion to the hot pan- cook until the cabbage gets soft.
  4. Add chopped bacon, sugar, cider vinegar, salt and pepper to the wilted cabbage.  Stir to mix and it’s ready to serve.


Family verdict:
Me: The bacon flavor, and the sweetness of the sugar really came through- the vinegar was just a mild undertone. I thought the cabbage was more of just a base for these other flavors- not a strong cabbage taste at all.
Toby: Cabbage- although being a smelly vegetable- was one Toby didn’t like to begin with. Being a good sport, he tried it for me. He said the bacon did come through really well, but he could still taste the cabbage.
Natalie: It resembled lettuce so she was already resistant. She put the smallest string of cabbage you’ve ever seen, on her tongue, then spit it out.

Conclusion:
I thought the recipe turned out really well and I’d eat it again. However since the rest of my family disagrees I might not be making it terribly often.  Maybe I’ll try it again when Natalie isn’t so against lettuce. 

The cabbage was the main vegetable I had in mind for the article, however that same night that I made the cabbage I also cooked up a butternut squash.  This is not a new vegetable for our family, but it’s such a wonderful, and dare I say decadent, vegetable I thought I’d share my pictures and how simple it is to make.

Butternut Squash

1 Butternut Squash
1-2 tbsp butter (depending how big the squash is)
salt & pepper

  1. Cut squash in half longwise, scoop out and throw away seeds.
  2. Put squash cut side down in a microwave safe dish large enough to fit both halves as well as fit in your microwave.
  3. Put about 1 inch of water in the dish with the squash, Cover with plastic wrap and put in microwave
  4. Microwave on high about 15 minutes (may take longer if you have a large squash)
  5. Carefully remove from the microwave- the water is basically boiling, and the steam escaping from the plastic is very hot.
  6. Remove the plastic wrap and flip over the squash pieces. Pierce with a fork- it should poke through with no resistance.  If the squash is still hard, re-cover and microwave another 2-3 minutes and check doneness again.
  7. When the squash is soft, drain off most/all the water as best you can- it just makes it easier to work with.  Scoop out the orange of the squash into a bowl leaving the hard shell behind.
  8. Mash with a fork or potato masher. Add butter, salt and pepper to taste. Mix and Serve.
 
Family Verdict
Me: Just decadent. Smooth, creamy butter nut squash is just awesome!
Toby:  “You made a believer out of me.”  He didn’t ever really have butternut squash, and now he’ll eat a healthy portion whenever I make it.
Natalie:  It was one of the vegetables I made for her when she was a baby. She still likes it to this day!

Conclusion: One of the regular vegetable rotations in the family- especially in the fall/winter months.

One last vegetable recipe for the article is also not new to our family, but I figured since it was only the second or third time I’d made it, that it still counted.  I made this the night before the cabbage and squash, and thought I’d practice taking some food pictures. 

Breaded and Baked Zucchini
 
2 medium zucchini
1 egg
2 tbsp milk
1 clove smashed garlic
½ cup Italian bread crumbs
2 tbsp grated parmesan cheese
1 tbsp chopped parsley (I don’t ever have parsley so I skipped this)
¼ tsp black pepper


  1. Combine egg, milk and garlic in a shallow dish or bowl. Set aside for about 15 minutes, while you complete steps 2, 3 & 4. You want the garlic flavor to infuse into the egg and milk mixture
  2. Preheat oven to 450. Spray baking sheet with non-stick cooking spray. You may need two baking sheets.
  3. Slice zucchini into “chips”.  No need to peel.  (about ¼” slices)
  4. Combine breadcrumbs, cheese, parsley (if using) and pepper in another shallow dish or plate.
  5. Dip zucchini slices into egg mixture, then into crumbs and place on a baking sheet that has been sprayed with nonstick cooking spray.
  6. Bake for 10 minutes, then turn over and bake for 5 minutes more until brown and crispy.
 
Family Verdict:
Me: So good! A great alternative to frying.  I made them without the cheese before (because I’m lactose intolerant), but they are better with the cheese. I think if you take out the cheese you should to add salt to the bread mixture.
Toby: He thinks they are great. Last time he tried dipping them in BBQ sauce. I didn’t care for it that way, but he seemed to like it.
Natalie: Not a favorite for her. I think she has a hard time with the skin still being on it.

Conclusion:  A recipe I’ve made already a couple times for the family and will continue to do so. I’ll keep presenting to Natalie and maybe eventually she’ll grow to like it, or get over the skin thing.  Toby and I like it and as long as 2 out of 3 of us like it. I’ll usually make it again.

So, that wraps up week one of my vegetable cooking.  Now, what to do for next week….. I have a couple ideas up my sleeve, now I just need to make it to the grocery store.  Stay tuned.  Oh, and if you try any of the recipes we try please post and tell me what you think or ideas for improvements!

Thursday, January 13, 2011

Name It or Get Hit With It- a new challenge!


I remember my husband telling me about a game he and his brother would play as children called “Name It or Get Hit With It.”  Their family- a collector of antiques and oddities- would often have strange looking items around the house. The game would go like this: one of the boys would pick up a random item then exclaim to the other: “Name it or get hit with it”.  I’m sure you can guess where the game goes from here. 

Fast forward 20 years. I’m reading an article on CNN the other day about vegetables, there is a picture of a white root vegetable as the Main photo for the article. My first thought is: Name It or Get Hit With It!  Then, I start to wonder if I took a group of people down the fruits and vegetable section of a grocery store and played this game- how many of us would come out unscathed?  I know I would leave with a welt or two.

So if we don’t know what it is, chances are pretty high that we aren’t eating them. It’s no wonder that the average person eats only about 3 servings of fruits and vegetables a day! Those are the only 3 we know!

I’m sure we’ve all heard the health benefits of eating a diet high in fruits and vegetables (lowed risks of heart disease, stroke, cancer, lower blood pressure, etc). They ARE our wonder drug. So what’s the problem? Why don’t we eat enough fruits and vegetables?

Problem one: The safety zone. We have certain fruits and veggies we know, are comfortable with- prepared a certain way.

Problem two: “Vegetables taste yucky”  Since childhood we have been battling anything green not covered in sugar or cheese. It is certainly true that you may not love every vegetable out there. However, did you know it takes about 15 tries of something to determine if you like or dislike something? My Parent’s magazine is always touting this to help us with getting our own children to eat their fruits and veggies. The 15 tries rule doesn’t just apply to children though- it applies to adults as well. Also keep in mind that your taste buds change over time.  Something you tried (probably once) in your younger years you may turn out to actually like now.

Problem three: “What do I do with this?”  Maybe you’re the kind of person who is willing to try, but just doesn’t know how to prepare a new fruit or vegetable. Or perhaps you are willing to try, but are afraid of making a bad tasting recipe. 

How does our family fit into the problem equation? I will admit that our family has our safety zone for fruits and vegetables- certain things you can almost always find in the fruit bin (apples), veggie bin (carrots), or the freezer (broccoli, green beans, peas). I’ve been trying to slowly expand our family’s horizons.  My lovely daughter has been such a trooper trying new fruits like kiwi, mangos, and papaya and even new vegetables like zucchini, asparagus and squash. Even in spite of these changes I’m trying to instill, I’d be the first to admit that I’m coming up short in the fruits and vegetables department.  

Toby is the “vegetables are yucky” person in the family. In his defense, he doesn’t hate all vegetables. He actually really likes the ones that smell really bad like brussel sprouts and broccoli.  He’s also a trooper though and will try just about any new thing I put in front of him.  I even got the thumbs up on a zucchini cake gone awry- re hashed into a zucchini mash.  Hubby has his limits though- certain things he just won’t even try.  I still make those things, but I don’t have an unrealistic expectation that he will be trying them.

I’m the “What do I do with this?” person because I’m the chef in the house.  I love the internet, but do I ever take the time to look up how to use a parsnip? No. On the good side of things,  I’m not afraid of making a bad recipe. I’ve done it enough times now.  I will admit that I do get frustrated when I have to throw food away.

So we know what the problem is and at least where my family fits into the problem area. What is our solution? How can I get more fruits and vegetables in my body?  My answer is: I’m going to learn about new vegetables and fruits and “what to do with them”, I’m going to try new recipes for vegetables/fruits that I know but aren’t part of a regular routine. 

My goal is to try at least 1 new recipe a week for a fruit or vegetable – emphasis on vegetable – for at least two months.  We’ll see where it goes from there.  I’ll blog the recipe and the results so you can follow with me.  Let’s get cooking!